
The example I am going to use is how to make your scenery into a tiny pic.
Step 1: go to the page where your scenery is and press the print screen button on your key board. It may look like this:

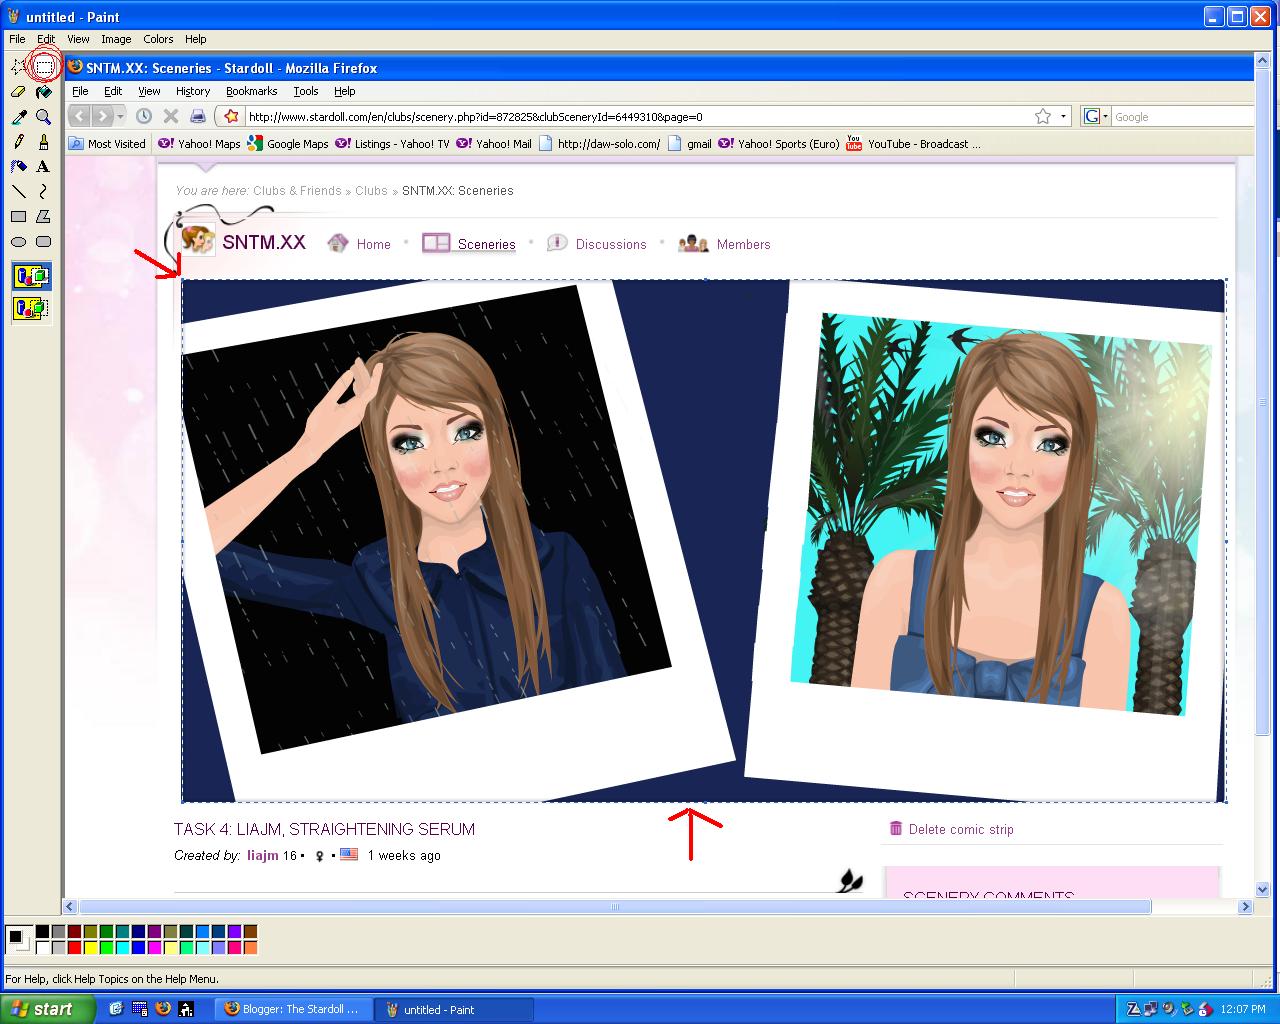
Step 2: Then open paint. Then file and paste and the"print" of your "screen" will appear in paint. It will look something like this:

Step 3: click on the dotted square that is the "select" button. then outline your scenery using the tool, as shown here:
Step 4: right click on your scenery and click copy. Then go to file new, and click paste. It should look like this:

step 5: save it as something you will remember, and in a file you will remember.
step 6: go to tinypic.com and click the browse button. Select the image you just saved and then click the green button.

step 7: when you click the green button a box will pop up. Just type the word given like this:
and then press the green button.

step 8: after that don't press anything till your page looks like this:
 then copy the link that is in the spot I circled in red. To see you your image paste it in to the URL bar at the top of the page, as shown below:
  And VOILA! You have made a tinypic of your scenery! now what do you do with it? you can post it in topics on stardoll to show everyone, even if they're not in the club you made it in [: to post it in a topic you don't need to add spaces just take off the http:// part and change the word tiny pic somehow so it lookls like this: i35.tinyOpic.com/qpko3s.jpg
I hope this all made sence and was helpful. If you have questions please ask!
No comments:
Post a Comment